
Installing new cabinets can completely transform your kitchen or bathroom, enhancing both functionality and aesthetics. However, a successful cabinet installation requires proper planning, precision, and the right techniques. Whether you’re hiring professionals or tackling a DIY project, these pro tips will help you achieve a seamless and durable cabinet setup.
1️⃣ Plan & Measure Twice Before Installing
Accurate measurements are the foundation of a successful cabinet installation. A slight miscalculation can result in misaligned doors, uneven gaps, or even wasted materials.
✔ Measure your space carefully—height, width, and depth—before ordering cabinets.
✔ Consider wall irregularities—not all walls are perfectly straight!
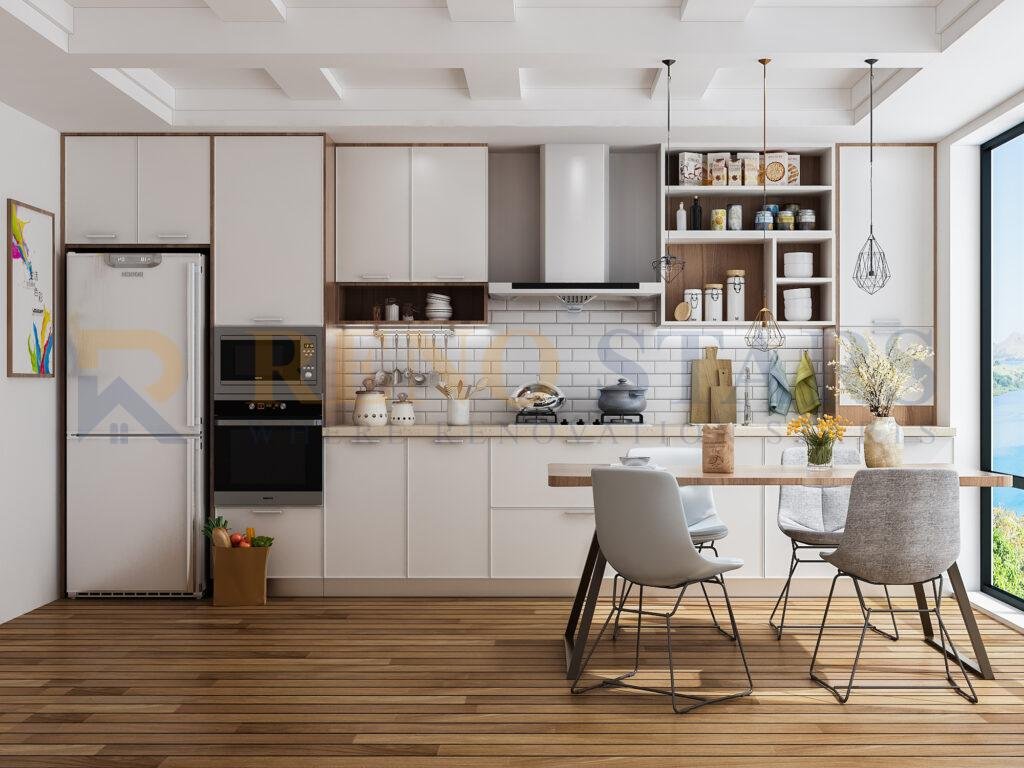
✔ Account for appliances—leave space for fridges, dishwashers, and microwaves.
✔ Mark the layout on walls using a laser level or chalk lines.
💡 Pro Tip: Create a detailed layout sketch before installation to avoid surprises.
2️⃣ Choose the Right Cabinet Material
Cabinet durability depends largely on the material you select. Here’s a quick guide:
✔ Solid Wood – Premium choice with timeless appeal but can be expensive.
✔ Plywood – Durable and moisture-resistant, great for kitchens & bathrooms.
✔ MDF (Medium Density Fiberboard) – Budget-friendly, smooth surface for painting.
✔ Particle Board – Affordable but less durable, not ideal for high-humidity areas.
💡 Pro Tip: Opt for soft-close hinges and high-quality drawer slides for long-lasting performance.
3️⃣ Secure Wall & Base Cabinets Properly
To ensure stability and longevity, follow these essential steps during installation:
✔ Install the upper cabinets first – This prevents damage to lower units.
✔ Use a stud finder – Secure cabinets to wall studs, not just drywall.
✔ Ensure base cabinets are level – Use shims to adjust for uneven floors.
✔ Double-check alignment – Small misalignments can cause big issues later.
💡 Pro Tip: Always use a laser level to align cabinets perfectly!
4️⃣ Don’t Forget Proper Ventilation & Spacing
Cabinets need proper airflow and spacing to prevent warping, moisture damage, and poor functionality.
✔ Leave at least 18 inches between countertops and upper cabinets for workspace.
✔ Ensure proper ventilation around appliances (ovens, dishwashers).
✔ Maintain a small gap between cabinet doors to prevent sticking.
💡 Pro Tip: Use cabinet fillers to cover small gaps and achieve a polished, built-in look.
5️⃣ Finishing Touches Matter
Once the cabinets are securely installed, add these final touches for a flawless finish:
✔ Caulk gaps between cabinets & walls for a seamless look.
✔ Install under-cabinet lighting for extra brightness and style.
✔ Use matching hardware—knobs & pulls—to enhance the overall aesthetic.
✔ Protect wood cabinets with a coat of sealant or polish for longevity.
💡 Pro Tip: Choose handles & knobs that complement your kitchen’s theme—modern, rustic, or traditional.